How to Wash a Ceramic Coated Car - The Complete Guide
SCHEDULE ONLINE GET A FREE ESTIMATE
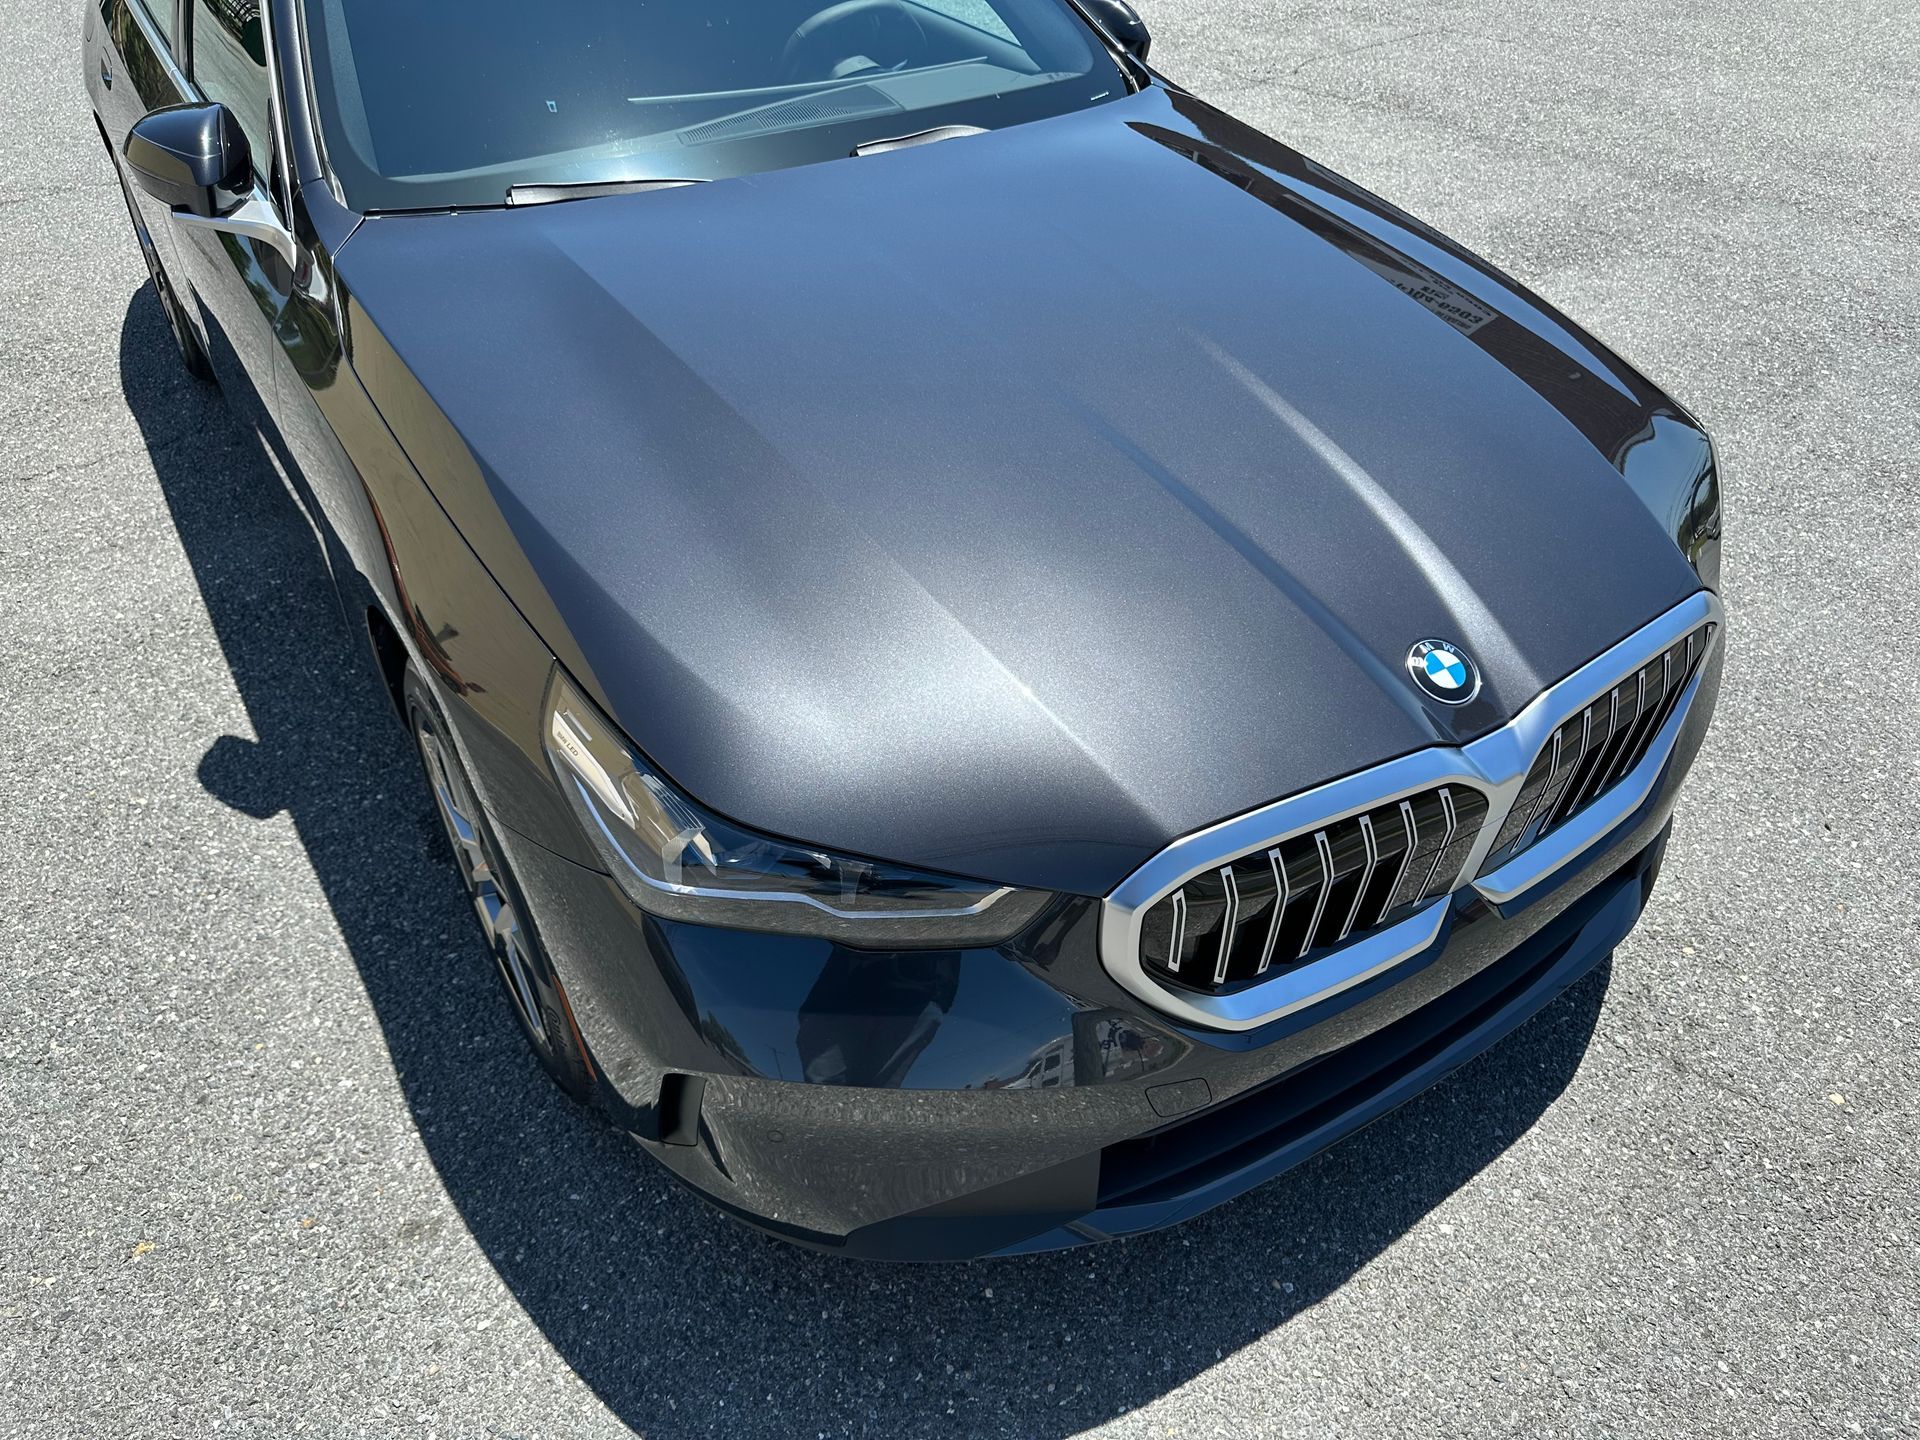
You just invested in a ceramic coating. The gloss is dialed in, the hydrophobics are working, and your car looks better than it has in years. Now the question we get from almost every client on pickup day: "So how do I actually wash it?"
This guide covers everything — what to use, what to avoid, and the exact step-by-step process we recommend to every Maryland Auto Spa client. Bookmark this page. You'll want to come back to it.
First Things First — Wait 2 Weeks
Before anything else: do not wash your vehicle for the first two weeks after your ceramic coating is installed.
Ceramic coatings need time to fully cure and bond to your clear coat. Washing too early — even with the gentlest method — can interfere with that process and compromise the performance of your coating. Two weeks. No exceptions.
Why Rinseless Washing Is the Right Method for a Coated Vehicle
Traditional two-bucket washing works. But for a ceramic coated vehicle, rinseless washing is the smarter approach — and here's why.
A rinseless wash solution like Shine Supply Eco Shine is specially formulated to encapsulate and lift dirt from the surface without the need for a hose or running water. When used correctly with a quality microfiber towel, it's actually gentler on your coating than a traditional wash — less friction, less water movement across the paint, and less opportunity for swirl marks to develop.
It's also faster, uses less water, and works anywhere — your driveway, an apartment parking garage, or a parking lot. For our clients who don't have easy access to a hose, it's a game changer.
What You Need
Before you start, make sure you have everything on hand.
For washing: Shine Supply Eco Shine (available in-shop), 3-4 Autofiber Double Flip Rinseless Towels (available in-shop), 1 wash bucket, 1 spray bottle.
For drying and maintenance: Autofiber Amphibian Mini Towel, Shine Supply M2 Blast, Modesta M4 Smoke.
Mix ratio: 1 oz of Eco Shine per 3 gallons of water in your bucket. Fill your spray bottle with the same mixture for direct panel application. All products are available at Maryland Auto Spa.
The Complete Rinseless Wash Process — Step by Step
Before You Start: Never wash in direct sunlight. Always make sure the paint is cool to the touch. Early morning or late afternoon is ideal.
Step 1 — Start with Tires, Wheels, and Wheel Wells: Always start here. Wheels are the dirtiest part of your vehicle and you don't want brake dust and grime splashing onto your clean paint.
Step 2 — Spritz the First Panel with Eco Shine: Using your spray bottle, lightly mist the first panel. Start at the top of the vehicle and work your way down — roof first, then hood and trunk, then upper doors, then lower panels.
Step 3 — Fold Your Double Flip Towel into Quarters: This gives you four clean sides to work with on each towel. Wipe one panel at a time using overlapping passes, working top to bottom. When one side of the towel is dirty, flip to a clean side. Never put a dirty side back on the paint.
Step 4 — Work Panel by Panel Around the Vehicle: Continue misting and wiping one panel at a time in this order: roof, hood, trunk, upper doors, lower doors, rear bumper.
Step 5 — Swap to a Fresh Towel When All Four Sides Are Used: Once all four sides are dirty, set it aside and grab a fresh one. Three to four towels will cover a full-size vehicle.
Step 6 — M4 Smoke Every 2-3 Washes: Every second or third wash, lightly mist Modesta M4 Smoke onto one panel at a time. Let it dwell for 1-2 minutes, then wipe off with a clean microfiber towel. M4 Smoke rejuvenates the hydrophobic properties of your ceramic coating.
Step 7 — Dry with M2 Blast and Your Amphibian Mini: Lightly mist Shine Supply M2 Blast onto each panel one at a time and follow immediately with your Amphibian Mini drying towel. Work panel by panel until the vehicle is completely dry.
What causes a ceramic coating to fail?
Automatic car washes. The brushes and harsh chemicals will degrade your coating faster than anything else. Avoid them entirely.
Dish soap or household cleaners. These strip the coating's hydrophobic layer. Always use a pH-neutral product designed for coated vehicles.
Washing in direct sunlight. Always wash in the shade or during cooler parts of the day.
Letting bird droppings, tree sap, or bug splatter sit. These are acidic and will etch into your coating if left too long. Remove them as soon as possible with a detail spray and a clean microfiber.
Skipping the M4 Smoke step. Your coating needs maintenance to perform. M4 Smoke is what keeps it healthy between professional service visits.
When to Schedule Your Ceramic Coating Refresh
Even with perfect washing habits, your ceramic coating needs professional attention over time. Contamination builds up, the hydrophobic layer needs to be rejuvenated, and a trained eye needs to assess the coating's health.
That's why every coating we install at Maryland Auto Spa includes your first Ceramic Coating Refresh as part of the Coat & Care System. We schedule it at 90 days — right when your coating has fully settled in and is ready for its first professional maintenance.
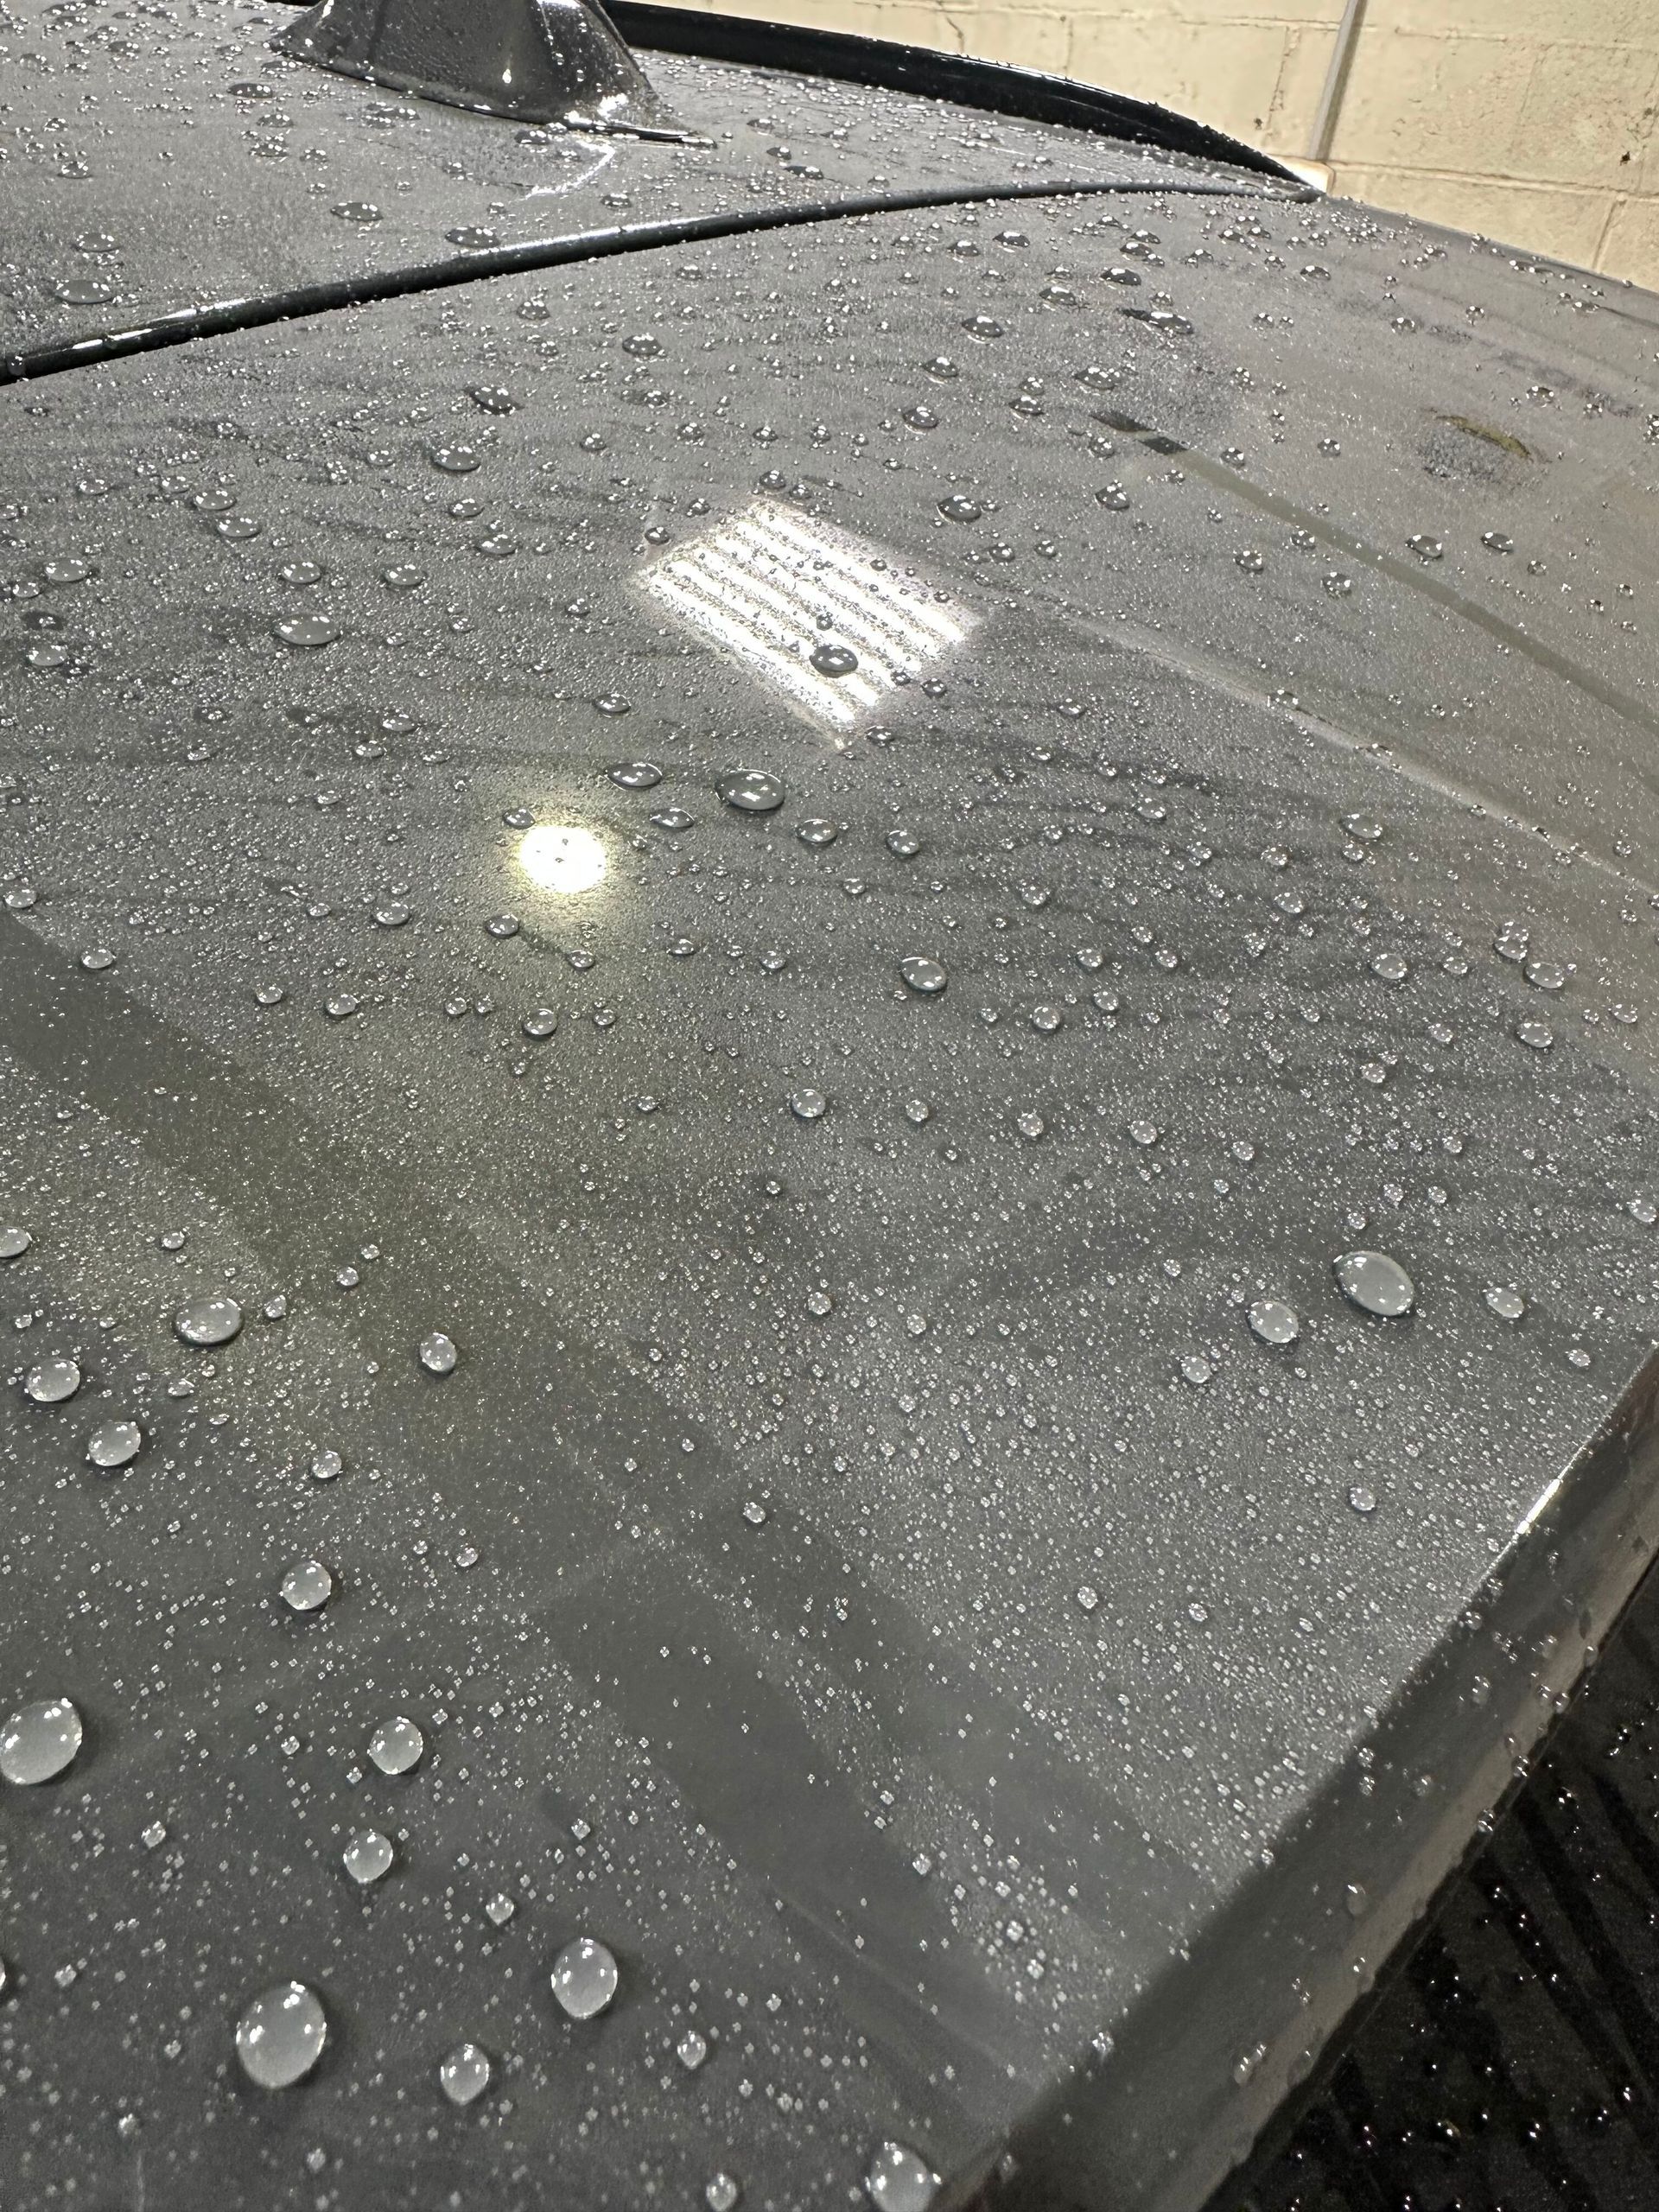
After that, we recommend a Ceramic Coating Refresh every 3-4 months. If you're noticing water isn't beading the way it used to, that's your signal — it's time to book.
Ready to schedule your Ceramic Coating Refresh? Text us at (301) 704-6503 or visit MDAutoSpa.com to get on the calendar.
A Note on Products
Everything mentioned in this guide is available for purchase at Maryland Auto Spa. We only sell products we use ourselves on client vehicles — Shine Supply Eco Shine, M2 Blast, M4 Smoke, Autofiber Double Flip Rinseless Towels, and the Amphibian Mini drying towel.
Maryland Auto Spa | 8931 Brookville Rd, Silver Spring, MD | (301) 704-6503 | MDAutoSpa.com
Certified Modesta Installer | Ceramic Coating & Paint Protection Specialists since 2007
Blog