Car Detailing Basics: Essential Steps for Car Detailing
SCHEDULE ONLINE GET A FREE ESTIMATEKeeping your car spotless not only boosts your confidence but also impresses anyone who steps inside. We've all experienced the embarrassment of dust-covered dashboards or stubborn stains on the seats, making us hesitant to offer rides. But imagine opening your car door to a pristine, fresh-smelling interior every time. It's more than just aesthetics; it's about feeling good.
The essential steps for effective
car detailing include pre-rinsing the vehicle to remove loose dirt, thoroughly cleaning the interior by vacuuming and using appropriate cleaners, and washing the exterior with pH-balanced soap using the two-bucket method to avoid scratches. It’s also important to follow up with thorough drying, wheel cleaning, and final touch-ups to ensure a pristine finish. In this blog post, we will discuss the essential steps for car detailing!
Preparing for Car Detailing
The first step is to gather all the necessary supplies, a crucial task that can streamline your detailing experience and prevent needless interruptions. Begin by collecting essential items such as car wash soap, which should be pH-balanced to protect the car’s finish; microfiber towels for drying without scratching; quality polish and wax for shine and protection; brushes of various sizes to reach small crevices; and a vacuum cleaner to tackle dirt inside the vehicle. Having everything organized and accessible transforms what could be a chaotic process into a smooth operation where each item has its place.
Step I: Gather Necessary Supplies
Imagine standing outside with the sun beginning to warm your back, feeling ready to start but reaching for something just out of your grasp. It’s frustrating, right? This is why preparation is essential. When all your supplies are at hand—perhaps even arranged in order of use—you eliminate the need to run back and forth, allowing you to concentrate on detailing instead of scrambling for supplies.
Once you have your tools ready, it is important to assess your vehicle's condition.
Step II: Assess Your Vehicle's Condition
Walk around your car intentionally and inspect every angle. Look for specific issues like stubborn stains on upholstery, noticing whether they might be from food or mud. Pay attention to paint imperfections, which might indicate scratches or chips that could need extra care during polishing. Don’t forget about the wheels, often neglected yet crucial components of overall cleanliness—check for grime buildup that can easily detract from your detailed efforts. Identifying these areas allows you to devise a strategy tailored to the unique needs of your vehicle.
Having adequately assessed your vehicle, it's now time to select an optimal location for your detailing work.
Step III: Choose a Suitable Location
Ensure you're set up in a shaded area where direct sunlight won't interfere with the products you're using. Heat can cause cleaners and waxes to dry too quickly, leading to streaks and spots that negate all your hard work. A driveway under a shady tree or a spacious garage is an ideal setting—it keeps the temperature down and gives you ample room to move around comfortably as you work on different sections of the vehicle.
With your vehicle inspected and supplies gathered, it's essential to ensure you're equipped with the right products before diving further into the detailing process. Let's explore what makes an effective selection when it comes to detailing solutions.
Choosing the Right Detailing Products
To begin with, it's crucial to understand that using the right products ensures effective cleaning without damaging your vehicle. It may seem tempting to pick up whatever resonant brand catches your eye on the store shelf, but investing in quality products tailored for automotive care can make a world of difference.
Importance of pH-balanced Cleaners
One of the quickest routes to preserving your car’s exterior is to opt for pH-balanced car wash soaps and cleaners. Unlike harsh chemical alternatives, pH-balanced products are gentle on your car's surfaces while remaining tough on dirt and contaminants. Using these formulations will not strip away protective wax or damage coatings; instead, they provide a safe yet thorough cleanse that helps maintain your vehicle's finish.
Interior Cleaners
The interiors of vehicles see just as much wear as the exteriors but require more careful consideration when selecting cleaning products. It’s important to use specific cleaners designed for leather, fabric, or vinyl, as all-purpose cleaners might be too harsh for delicate surfaces.
It's essential to tailor your approach: for leather seats, look for conditioners that cleanse while moisturizing; for fabrics, choose gentle sprays that eliminate stains without causing fading or discoloration. Just imagine settling into a perfectly clean seat—free of stains and odors—every time you enter your vehicle!
Washing and Drying the Vehicle
Consider this step as a revitalizing bath for your car. The steps include this:
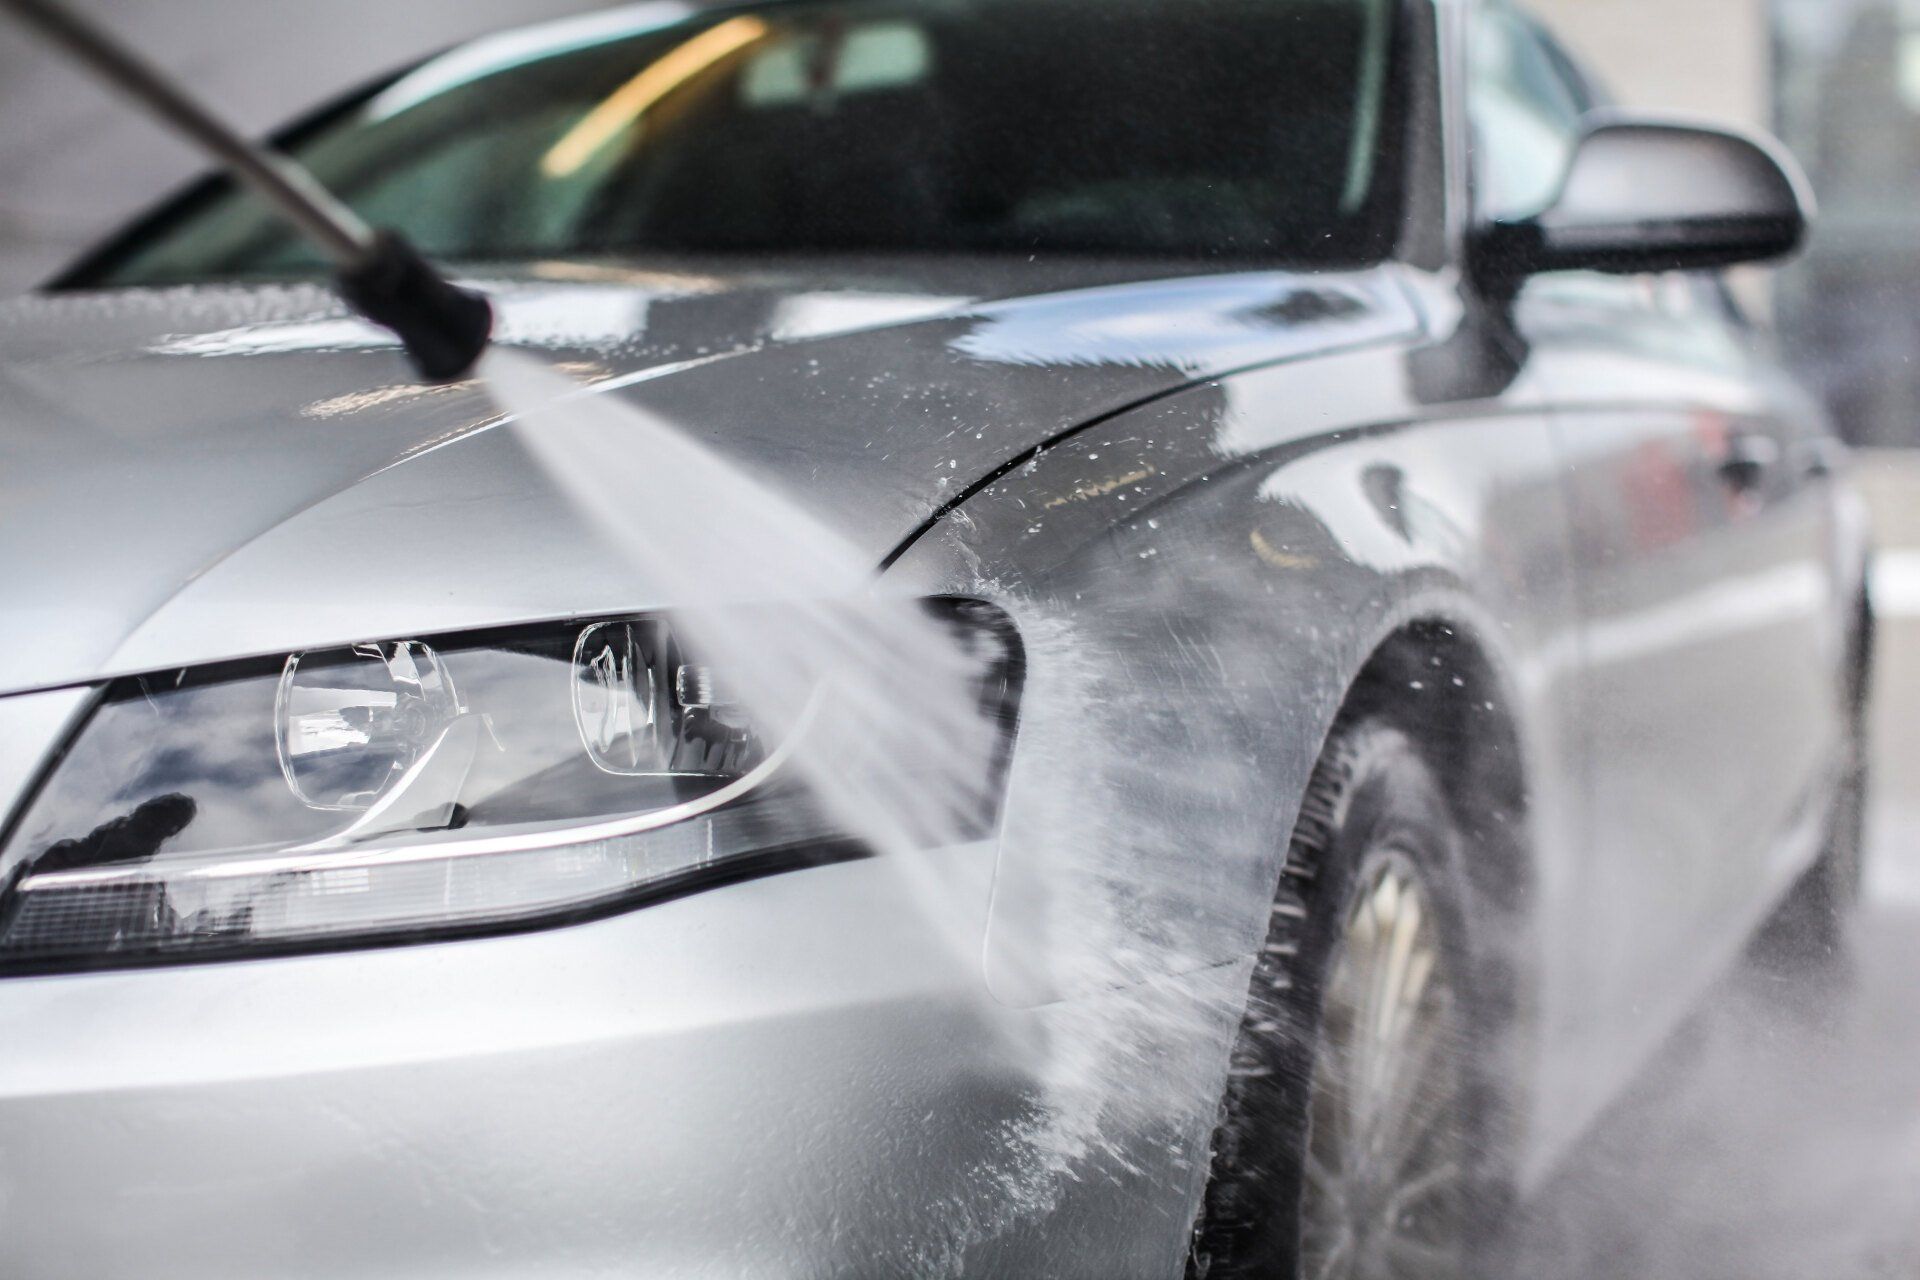
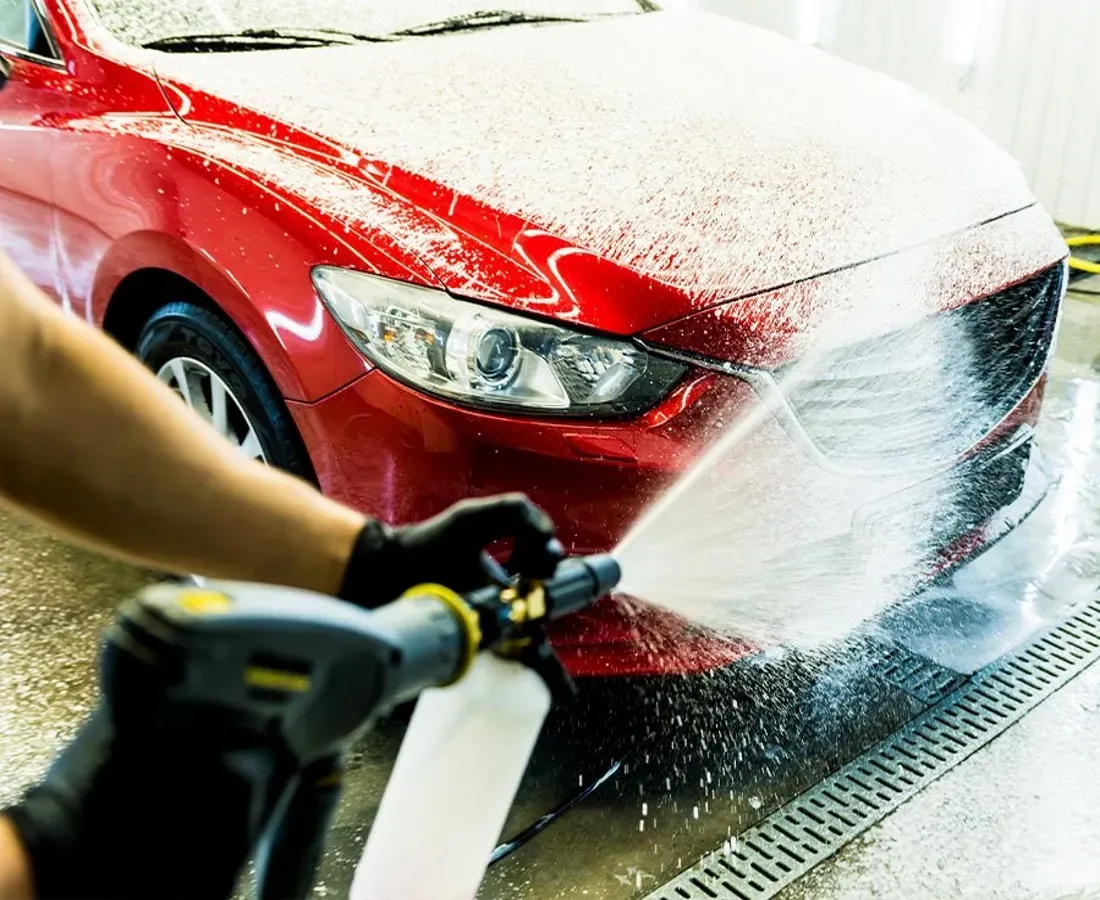
Step I: Pre-Rinse
Before diving into a thorough cleaning, take a moment to pre-rinse your car. This crucial first step involves using a hose or pressure washer to gently wash away large dirt particles that have clung to the surface. Pay special attention to areas where grime tends to accumulate, such as around wheel wells and under the chassis, as these spots often harbor grit that could mar your paintwork during washing.
Step II: Two-Bucket Method
Moving on to the actual wash, employing the two-bucket method is highly recommended. Start by setting up two separate buckets: one filled with soapy water and the other with clean water for rinsing your wash mitt. This technique minimizes the risk of transferring dirt back onto your vehicle’s surface, preserving that pristine finish you’re striving for. As you dip your mitt into the soapy water, take care not to reintroduce debris from the rinsing bucket—this small precaution can save you from countless tiny scratches.
Step III: Rinse and Dry
After using your mitt across your vehicle’s exterior and ensuring every edge has been treated, it’s time to rinse thoroughly. A thorough rinse will wash away all soap residue along with any remaining dirt, leaving a clean canvas behind.
Once rinsed, dry your vehicle promptly using microfiber towels. These towels are extraordinarily absorbent and soft against your car's paint, making them perfect for preventing water spots, which can occur if water evaporates on its own. Gently blot rather than rub; this technique helps lift moisture away without further risk of scratching.
Polishing and Waxing the Surface
Polishing and waxing are more than just steps in a car cleaning routine; they serve as final layers that enhance appearance and protect your vehicle's paintwork from environmental contaminants. Think of polishing as giving your car a refreshing facelift—removing imperfections like swirl marks, light scratches, or oxidation.
The process begins with understanding the importance of using a dual-action polisher. This tool combines the benefits of rotary and random orbital movements, making it easier to manage while effectively smoothing out the paint surface without causing damage.
Step I: Polishing
When applying polish, it's essential to use the right amount. You don't want to overload the pad; instead, apply a small dollop about the size of a quarter.
Working in small sections—roughly two by two feet—ensures the polish is applied evenly and thoroughly. Using gentle pressure, begin buffing in circular motions. This technique not only helps in removing surface blemishes but also works to blend any old paint repairs you might have on your vehicle.
Take your time during this step; rushing can lead to uneven results or missed spots that could have been easily polished away. Each section should have its finish inspected closely before moving on to avoid prolonging later corrections.
Step II: Waxing
Once you've finished polishing, it's time for waxing—the protective armor for your vehicle's finish. A protective wax doesn't just add shine; it acts as a barrier against harmful elements like UV rays, bird droppings, and road grime that can degrade your paint over time.
For best results, use a foam applicator pad to apply wax directly onto the freshly polished surface. Spread it evenly using circular motions, but remember to allow the wax to haze over before buffing it off.
Here are some key tips for effective waxing:
- Timing: Wax an area only when your fingers glide smoothly over the surface without resistance.
- Quality: Always choose high-quality wax suitable for your vehicle type—whether synthetic or natural carnauba wax, each has unique benefits.
- Microfiber Towels: Use clean microfiber towels for buffing off wax to avoid scratching the protected surface.
With these polishing and waxing techniques under your belt, you're well-prepared for maintaining that radiant exterior. As we continue, let's shift our focus to transforming the inside of your vehicle into an equally pristine environment.
Interior Cleaning Techniques
To achieve a pristine interior in your vehicle, start with vacuuming, which is the foundational step in any car detailing process. Begin by removing any loose items from the seats and floor; this allows the vacuum cleaner to perform effectively.
Use an upholstery attachment to reach the nooks and crannies under the seats and between the cushions. Particularly stubborn areas can be tackled with a crevice tool, enabling you to extract dirt that would otherwise remain hidden. A thorough vacuum will not only clean but also help improve air quality inside your vehicle.
Once you've vacuumed, it's time to move on to cleaning the upholstery. When it comes to cleaning upholstery, picking the correct product is key. For fabric seats, a designated fabric cleaner should be applied according to manufacturer instructions; using a foam cleaner can help lift stains without overly saturating the material.
If your vehicle features leather seats, opt for a specialized leather cleaner and conditioner; remember, leather requires proper maintenance to prevent cracking or drying out. Always test any cleaning agent on an inconspicuous spot first to ensure it doesn’t alter the color or texture of the material adversely.
After ensuring your seats look fresh, it’s now essential to turn your attention to surfaces like the dashboard and console.
The dashboard and console attract dust and grime quickly, so employing a damp microfiber cloth with an appropriate cleaner is imperative. Using products without harsh chemicals is recommended because certain cleaners can strip or damage the finishes of these surfaces over time. This gentle approach ensures that you’re not just cleaning but also preserving the integrity of materials such as vinyl and plastic.
As we wrap up these essential steps, let’s not forget an equally important surface: the windows. Finally, clean your windows with a glass cleaner designed specifically for automotive use. This type of cleaner helps avoid streaks that generic household cleaners might leave behind.
With these steps completed, we can shift our focus to other critical areas of your vehicle that require attention for a comprehensive detailing experience.
Wheels, Engine, and Glass Care
In car detailing, the wheels, engine, and glass might not be the first areas that come to mind, but they play a crucial role in both aesthetics and functionality.
Starting with the wheels and tires, it’s important to use a specialized wheel cleaner that effectively breaks down grime and stubborn brake dust. These contaminants can accumulate and dull the beauty of your tires if left unchecked. A dedicated wheel brush will help reach hard-to-access crevices. After scrubbing away the dirt, don’t skip the tire shine—this finishing touch enhances appearance and provides protection against cracking and fading from UV rays.
Engine Bay
The engine bay houses many essential components that can gather dirt and grease over time. To begin cleaning, it's wise to protect sensitive electrical parts by covering them with plastic bags. This precaution prevents moisture from causing any potential damage when using an engine degreaser.
Spray lightly over the engine and components; let it sit for a moment to break down built-up grime. Use a soft brush to gently scrub areas that need more attention, such as around grease-laden components. When rinsing, do so carefully with low pressure to avoid displacing any connections or causing water intrusion into sensitive areas.
Glass Care
Clean windows can elevate your entire vehicle's presentation. For optimal results, use an ammonia-free glass cleaner—ideal for both exterior and interior surfaces as it avoids leaving streaks or residue.
When applying cleaner to your windows, work systematically from top to bottom to prevent drips from flowing onto already cleaned areas. Following application, buff each window with a clean microfiber towel, ensuring all spots are polished away for exceptional clarity.
Regular upkeep in these three areas not only keeps your vehicle looking excellent but also enhances its longevity and usability over time.
While DIY detailing can be enjoyable and rewarding, for a truly exceptional finish tailored to your vehicle's unique needs, consider scheduling an expert detailing service through Maryland Auto Spa. By doing so, you'll ensure your car receives top-tier care that might be difficult to achieve on your own.
Blog